Circular skirt pattern and Barn Dance costume part 2
Posted on 17 August 2009
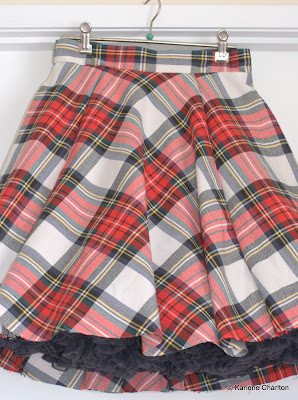
This is how I recycled an old dressing gown into a swirly dancing skirt.

The easy option here would have been to make a straight skirt, or a paneled skirt with flare at the hem, but I really like the way checks look cut on the bias in a circular skirt. And it’s going to be worn over a frilly square dancing petticoat. Obviously there was not enough fabric in the dressing gown to make a full circle skirt, so I just made it as ‘circular’ as possible with bias front and back, and whatever I could get out for the sides.
First I dug out my circular skirt pattern and checked the measurements. They are fairly easy to make, similar technique to the fairy skirt.
Here’s my circular skirt pattern tutorial:
1. Take your waist measurement. This will be the circumference.
2. Divide this number by 6.28 to get the radius.
3. Get a large square piece of paper or card. Starting from a corner, use the radius measurement to mark out a 1/4 circle. This is the waistline.
4. Decide how long you want the skirt to be. Using a metre rule, measure this distance from the waist to mark a large 1/4 circle.
5. All done! This will give you a 1/4 circle “block” pattern piece (without seams/hem). Cut 4 panels for a full circle skirt, with one panel on the fold if you want to get rid of a seam.

Remember to add seam allowances and hem allowance before you cut out fabric!
This will be fitted at the waist and will need a zip or button opening. If you want to make an elasticated pull-on version, then use your hip measurement for the circumference.
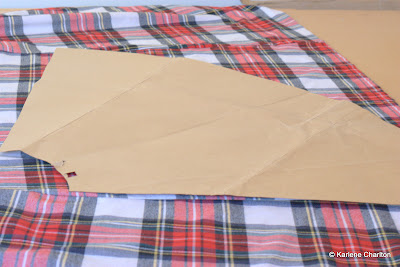
Back to my barn dance skirt. I laid the dressing gown as flat as possible and marked out two panels from the back, with the centre of the pattern lying on the true bias, as wide as I could get them at the hem with seam allowances. These panels become the centre front and back.
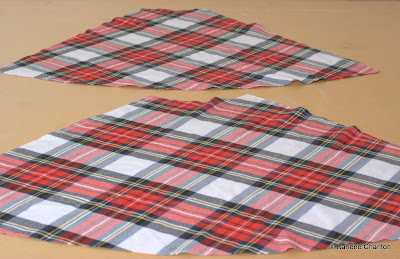
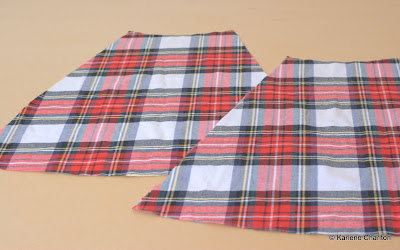
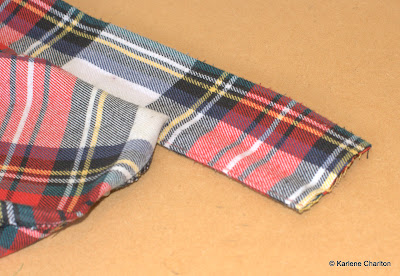
The next step was the side panels. I put the pattern on the front panels of the dressing gown, this time with the centre lying on the straight grain of the fabric, and again marked the shape as wide as I could.
I then stitched up the side panels, leaving an opening on a side/back seam for the opening.
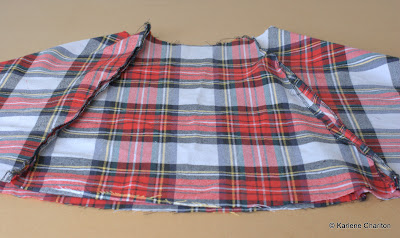
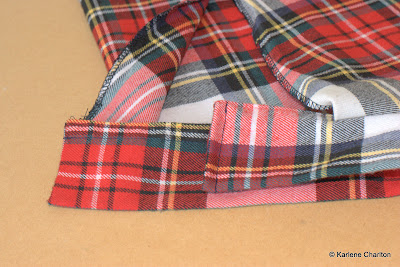
The belt that came with the dressing gown was about the right width for a waistband so I took the easy way out and stitched it straight on, leaving a few cm at on end for the button wrap.
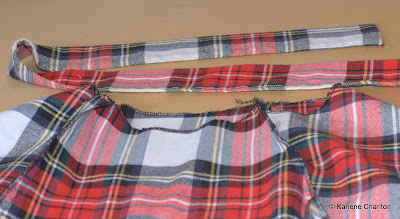
I tucked in the raw edges where they were cut before sewing.
Last step before hemming is to hang it up for a while to let it “drop”, as the bias bits usually stretch and spread a bit more than the straight bits. I will post another picture of me wearing it when it is finished and hemmed.

-

-

I took the pledge for life!

My online store on felt: